Defibrillator Maintenance Requirements: Keeping Your Life-Saving Device in Tip-Top Shape!

Hey there, defibrillator guardians! If you’ve got one of these life-saving devices in your possession, you might be wondering what it takes to keep it in peak condition, ready to shock a heart back into action at a moment’s notice. Well, you’ve come to the right place! We love to help you understand defibrillators Today, we’re diving into the world of defibrillator maintenance, and trust us – it’s not as complicated as you might think.
Changing Pads: Out With the Old, In With the New
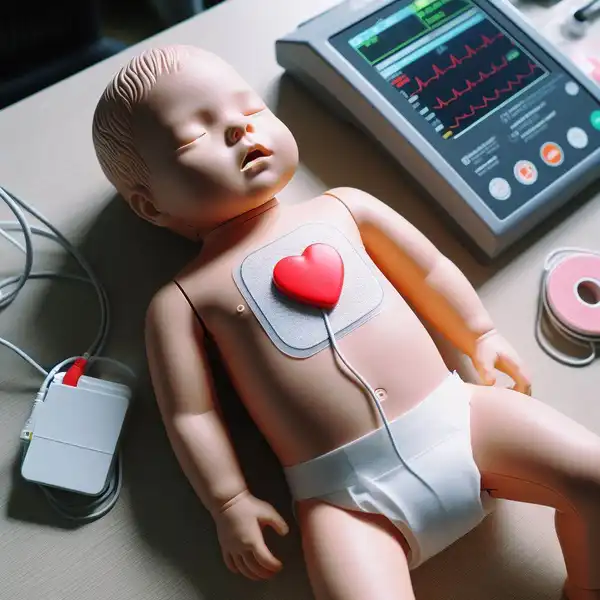
First things first, let’s talk about those all-important defibrillator pads. These adhesive marvels are your defibrillator’s direct link to a patient’s chest, allowing the device to analyze the heart rhythm and deliver a potentially life-saving shock. But just like your favorite pair of shoes, pads don’t last forever.
Most manufacturers recommend replacing defibrillator pads every two to four years, even if they haven’t been used. This ensures that the adhesive remains strong and the pads are in prime condition when you need them most. Some d1efibrillators even have expiration dates printed right on the pads, so you’ll always know when it’s time for a fresh set.
Changing pads is a breeze – simply remove the old pads from the defibrillator, disconnect them from the device, and connect the new pads in their place. It’s like changing a light bulb, but instead of illuminating a room, you’re potentially illuminating a life!
Battery Basics: Powering Your Life-Saving Device
Next up, let’s talk about the heart of your defibrillator – the battery. This unsung hero is responsible for providing the power needed to analyze a patient’s heart rhythm and deliver that crucial shock. Just like the batteries in your TV remote, defibrillator batteries don’t last forever and will need to be replaced periodically.
The lifespan of a defibrillator battery can vary depending on the make and model of your device, but most last around four years.. Some defibrillators even have a handy indicator light that lets you know when the battery is running low, so you can swap it out before it’s too late.
Changing a defibrillator battery is usually a simple process – just locate the battery compartment, remove the old battery, and insert the new one.
Indicator Lights: Your Defibrillator’s Way of Communicating
Now, let’s talk about those fancy indicator lights on your defibrillator. These little beacons aren’t just there for show – they’re your device’s way of communicating important information to you.
Most defibrillators have a “ready” light that lets you know the device is charged, in good condition, and ready to save a life.
Checking your defibrillator’s indicator lights should be a regular part of your maintenance routine. Give them a glance every day on your way to the office or workshop to ensure your device is in tip-top shape and ready to spring into action when needed.
Self-Tests: Your Defibrillator’s Built-In Check-Up
Many defibrillators take maintenance to the next level with built-in self-tests. These automated check-ups allow the device to put itself through the paces, ensuring everything is working as it should.
Self-tests can vary by make and model, but most involve turning the defibrillator on and letting it run through its paces. The device may check its battery status, analyze its own circuitry, and even perform a mock shock to ensure it’s ready to deliver a real one when needed.
Think of self-tests as your defibrillator’s way of giving itself a regular check-up. It’s like having a tiny mechanic inside your device, making sure everything is in working order and ready to save a life at a moment’s notice.
The Manual: Your Defibrillator Maintenance Bible
Now, we know what you might be thinking – “This all sounds great, but how do I know I’m doing it right?” Fear not, dear defibrillator guardian, for every device comes with its very own maintenance bible: the manual.
Your defibrillator’s manual is chock-full of valuable information, including step-by-step instructions for changing pads and batteries, interpreting indicator lights, and running self-tests. It’s like having a personal defibrillator maintenance guru right at your fingertips.
And the best part? Defibrillator maintenance is designed to be easy enough for anyone to do. You don’t need a medical degree or a background in engineering – just a willingness to follow instructions and a desire to keep your life-saving device in peak condition.
Checking for Damage: A Quick Once-Over
Last but not least, let’s talk about giving your defibrillator a quick once-over for any signs of damage. Just like you wouldn’t drive a car with a flat tire or a cracked windshield, you don’t want to rely on a defibrillator that’s seen better days.
Every month, take a moment to visually inspect your defibrillator. Check for any signs of rust, corrosion, or tearing on the device itself. Make sure the case is in good condition, free from cracks or other damage. And if you live in an area with pesky critters like mice, keep an eye out for any signs of unwanted visitors making a home in your life-saving device.
If you do spot any damage, contact the manufacturer or your local defibrillator maintenance provider for guidance on repairs or replacement. A little TLC goes a long way in keeping your defibrillator ready to save a life when it matters most.
Wrapping Up
There you have it, folks – the ins and outs of defibrillator maintenance. By changing pads and batteries, checking indicator lights, running self-tests, consulting the manual, and giving your device a quick once-over for damage, you can ensure your defibrillator is always ready to be the hero a heart needs.
And remember, maintaining your defibrillator isn’t just a chore – it’s a vital part of being prepared to save a life. So go forth, defibrillator guardian, and keep that life-saving device in tip-top shape. You never know when a heart may need a little shock to keep on ticking! Want to understand more about defibrillators and their functions? Check out our article


